
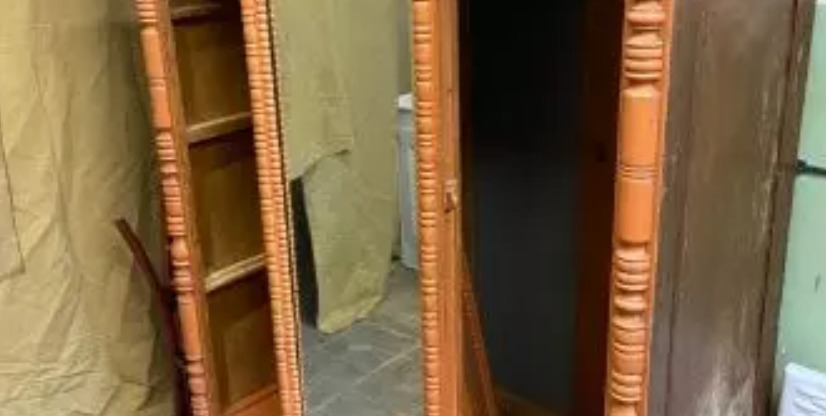
It was heavy and of impressive size, with an abundance of carved patterns that seemed too fragile to touch… In its depths, partitions and shelves were hand-made from pine wood.

I started the process by removing all the decorations, as this is a mandatory step for quality work.

Having removed the mirror, I left before me a completely empty frame.


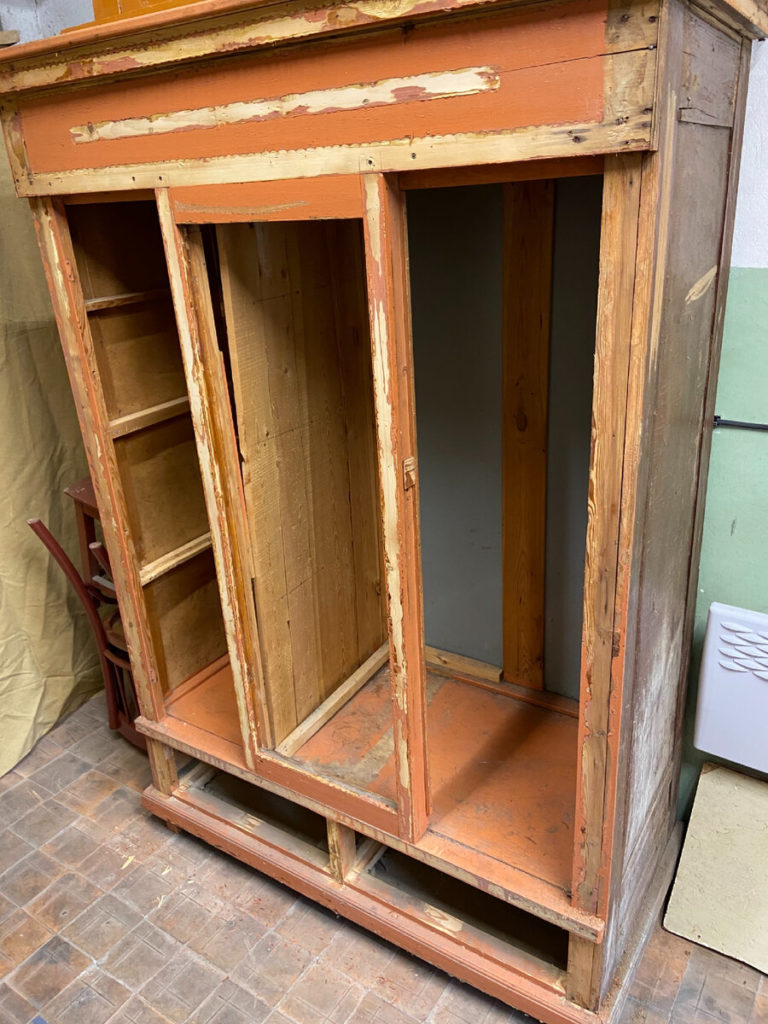
I also plan to replace the back wall.
The partition inside was intended to be dismantled in order to return the cabinet to its original state.

The floor also needs to be replaced with a new one that will be perfectly level and clean.

After initially removing the old finish with a scraper, this simple frame is obtained.
Cleaning is complicated by the softness of pine and its resin content; the scraper often does not cut, but gets clogged with resin, which causes irritation. Where there was varnish under the paint, the coating was removed without problems, but those areas where the paint lay directly on the wood resisted all attempts at cleaning.

Funny finds – newspapers from 1961.
With the initial cleaning completed, I began the fine carving work.


After four days of patient work, the carving was completely cleaned, using a scraper, everything was done manually, without chemicals. This stage was necessary, since the paint was hidden under the decorative elements.

Under the layer of paint there was a very decent drawing.
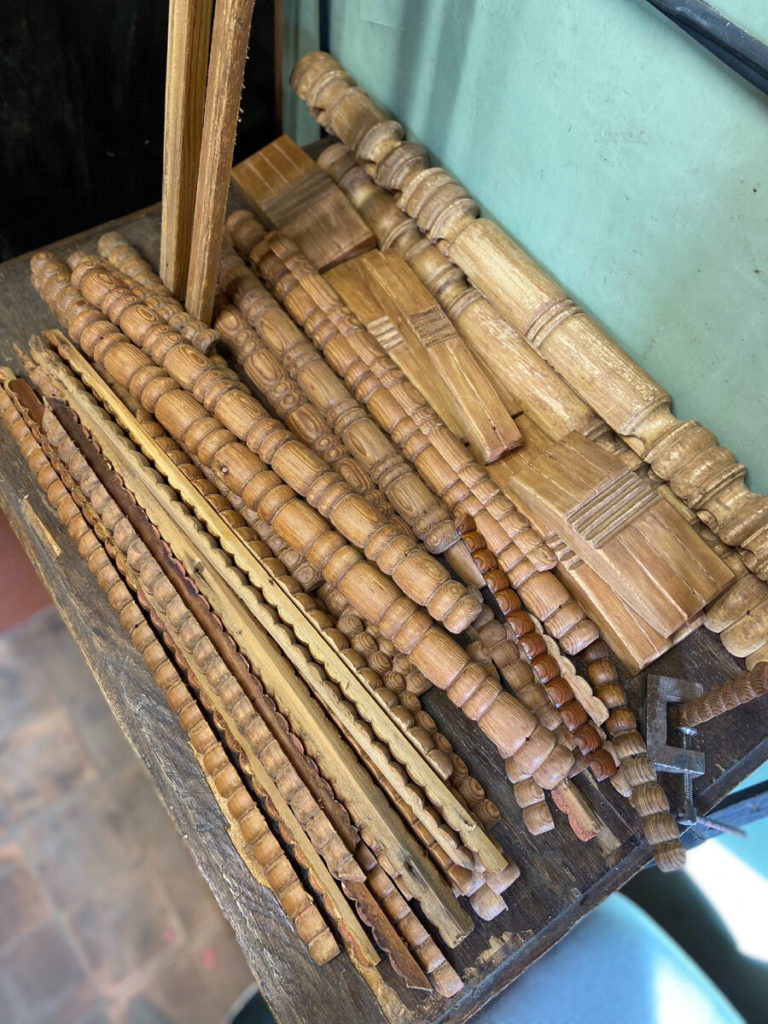
After I finished cleaning the jewelry, I moved on to the next step – a more subtle and careful cleaning.
A sander with 60 and 80 grit attachments, and here is the result of three days of sanding…
The wood became lighter.

However, there were areas where the paint had penetrated deeply. Some were removed with a chisel and engraver, and some had to be left.

The doors have become a separate decorative element.

That same paint on bare wood was a real challenge.

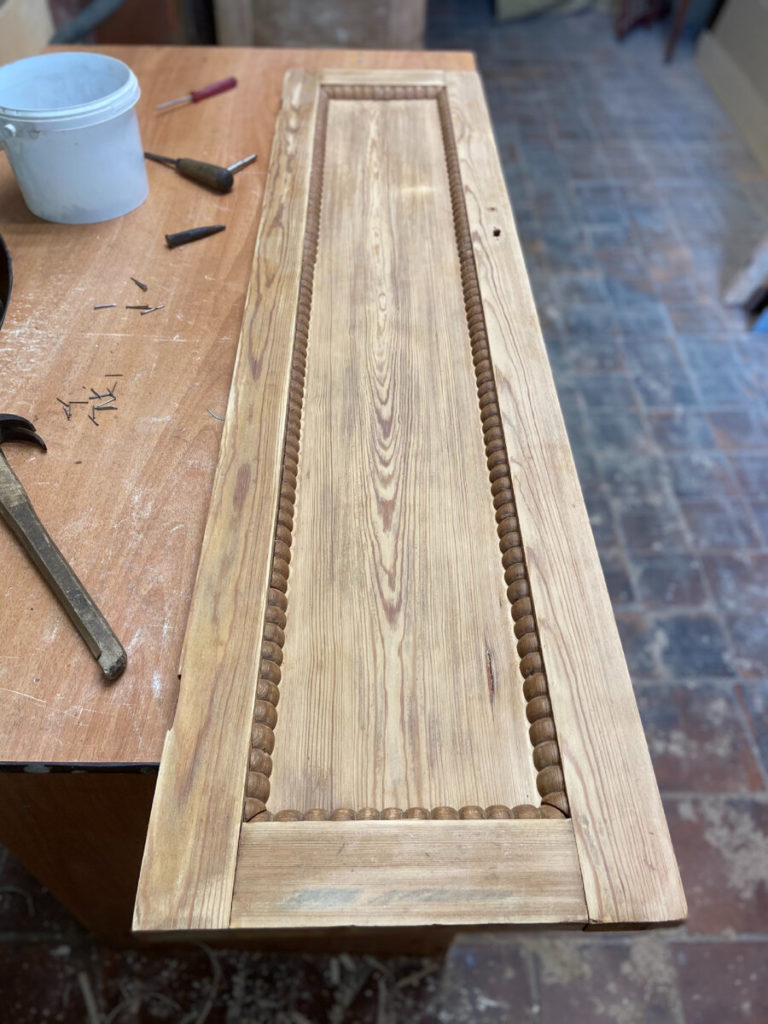
My nerves are on edge, but I’m starting to assemble…

The choice of protective coating was not easy. I suggested a dark oil with brown tones, but it was decided to preserve the natural lightness of the wood.
We settled on clear oil and wax.


The back wall is in place.

The wax is slightly yellowish, but becomes lighter over time after drying.

I cleaned the fittings by soaking them in solvent and vinegar. Maybe the vinegar was too much, but I decided not to risk it.


All metal elements are returned to their places, the structure is assembled – it’s time to show the result!

I hope you liked the result of my work)


