The Shabby Chic Dresser Makeover You Didn’t Know You Needed
In the world of DIY, there’s something magical about breathing new life into a forgotten piece of furniture. The image above is a perfect example—a tired, scratched-up wooden dresser transformed into a shabby chic masterpiece that oozes charm and character.
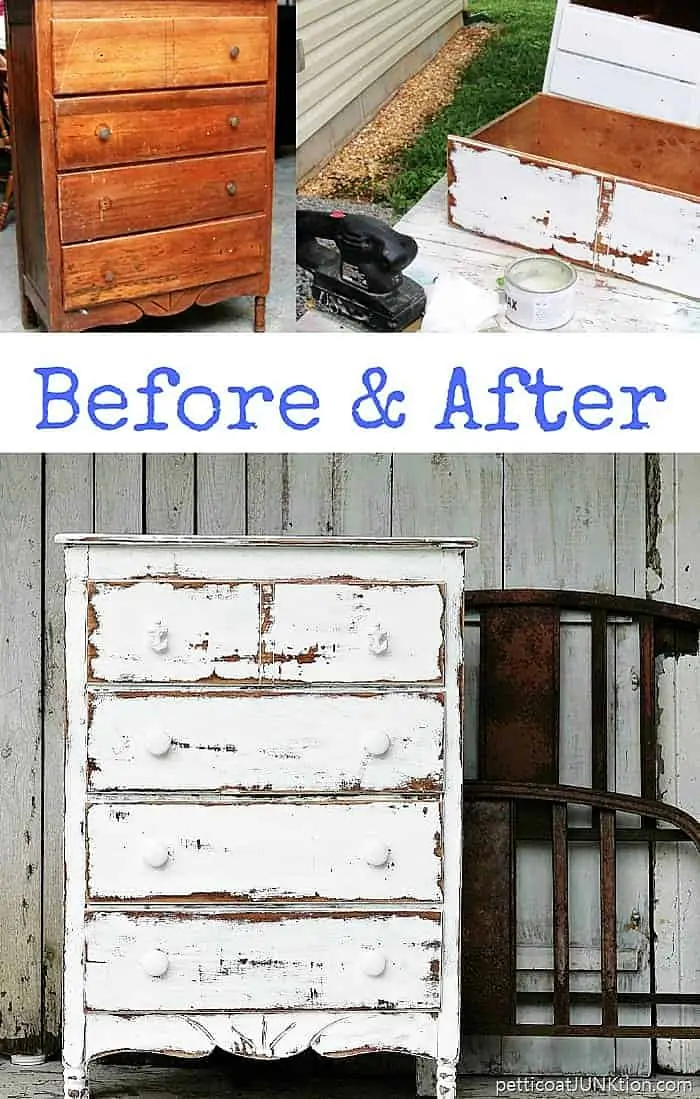
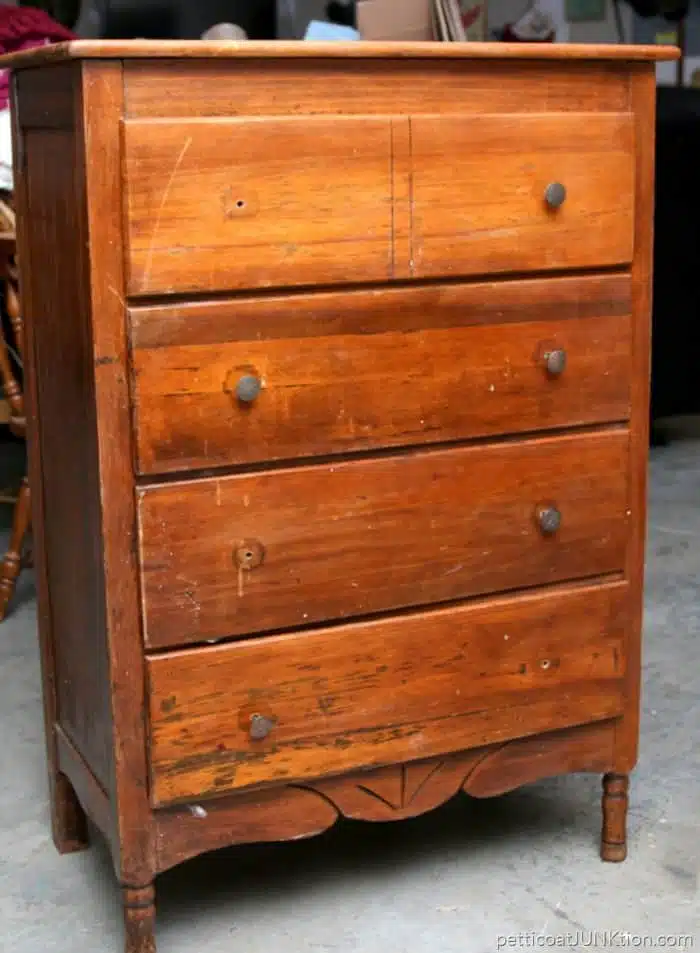
The “Before” – Worn But Full of Potential
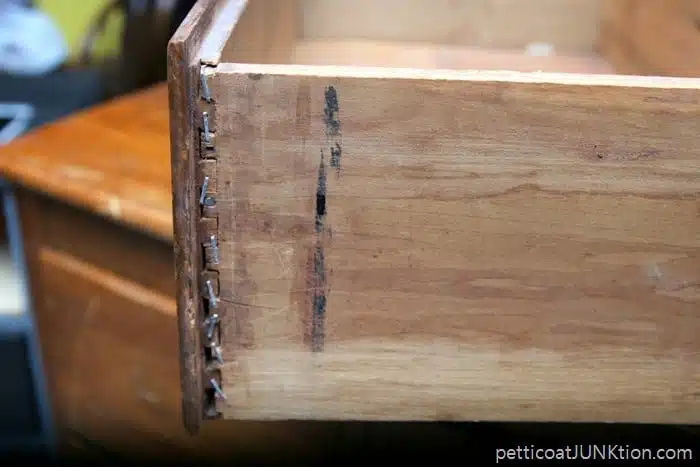
Every great makeover starts with a humble beginning. The original dresser, though sturdy, bore the marks of time—scratches, fading varnish, and outdated knobs. It’s the kind of piece you might find at a yard sale or tucked away in grandma’s attic. But to a DIY enthusiast, it screamed potential.
The Process – From Rustic to Radiant
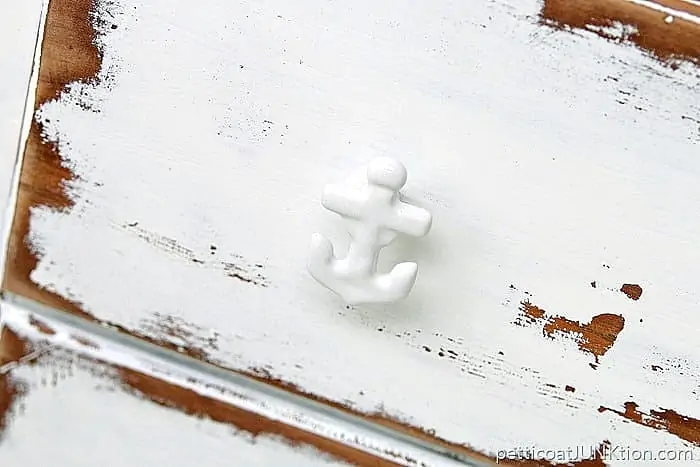
The transformation began with a good sanding session, stripping away decades of wear and tear. Armed with a sander and determination, the dresser was prepped for its new look. Choosing a crisp white paint was the game-changer. But here’s where it gets interesting—rather than opting for a flawless coat, the DIYer embraced imperfections.
Using distressing techniques, like sanding corners and edges post-painting, they achieved that coveted shabby chic aesthetic. It’s the perfect blend of old and new, where the original wood peeks through just enough to tell its story.
![]()
The “After” – Shabby Chic Perfection
The end result is stunning. The once-overlooked dresser now boasts a bright, vintage charm. Its distressed white finish gives it personality, making it a statement piece for any room. The old hardware was swapped for simple white knobs, tying the entire look together.
This makeover isn’t just about aesthetics—it’s about sustainability. Upcycling old furniture reduces waste and gives forgotten pieces a second life. Plus, it’s a cost-effective way to add unique decor to your space.

Tips for Your Own Shabby Chic Makeover:
- Don’t fear imperfections—they add character.
- Use chalk paint for that soft, matte finish.
- Distress strategically—focus on edges and raised details.
- Seal with clear wax for durability.
In the end, this dresser’s journey from drab to fab is more than just a paint job—it’s a reminder that with a little creativity, anything can be transformed into something beautiful. So next time you see an old, worn-out piece of furniture, think twice before passing it by. It might just be your next masterpiece!


